Getting Started for Non-SIMS Schools
If you are new to Schoolcomms the information below will guide you through some steps to complete ahead of your Go Live date.
Inform Parents
Ahead of your Go Live date it’s advisable to inform your parents of a change in school systems, so that they can sign up for School Gateway here and install the App on to their phones. Click here to access our School Gateway Success Guide, which include template letters and email to help you advertise the new system to your parents.
Arbor Data Requirements
Import Data in to Schoolcomms
Your import settings determine the contacts and data that are imported from your MIS database.
To review your Schoolcomms Import Settings go to Dashboard > Import Management > Edit settings.
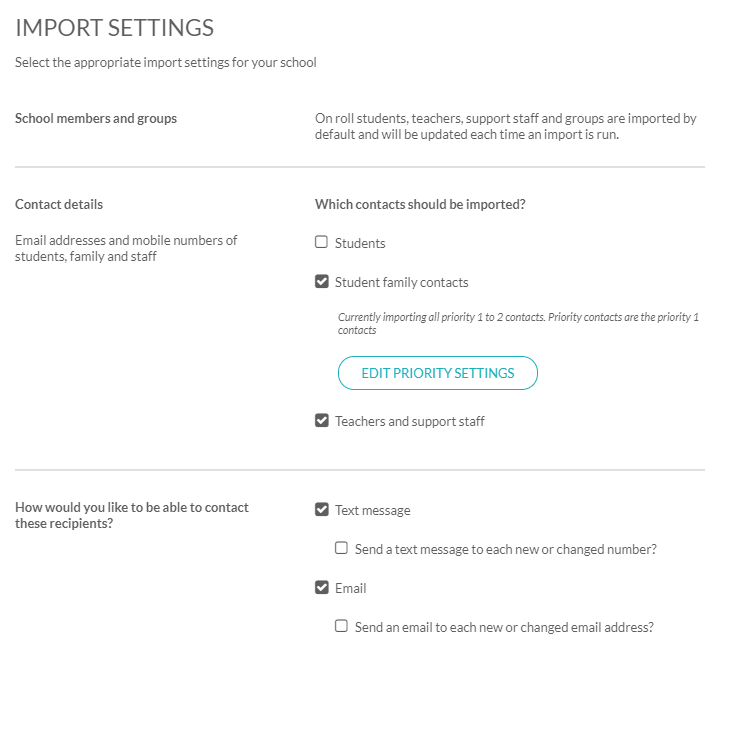
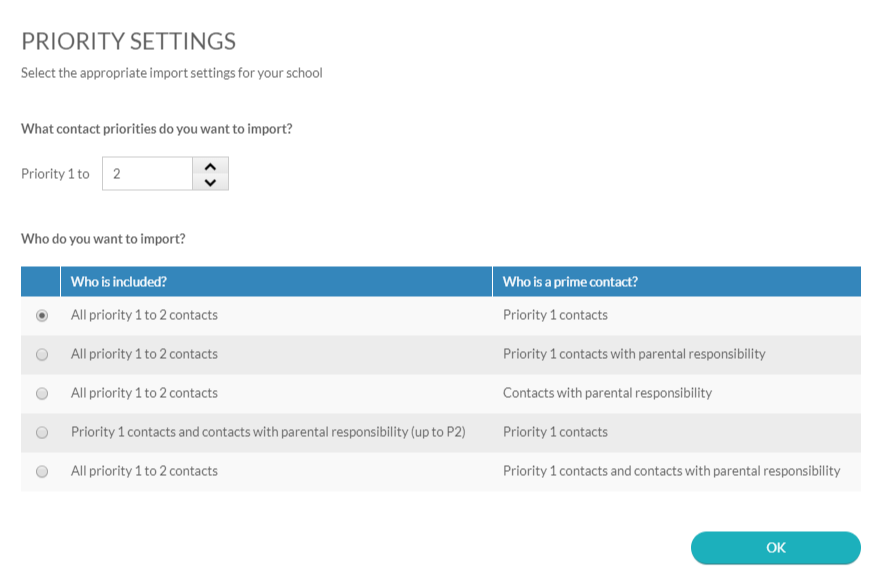
Select which contacts you would like to import from your MIS database. By default, the import is set to include Priority 1 parents and all are flagged as prime. If you wish to include other priorities and/or parental responsibility and set another choice for prime/non-prime, click on Edit Priority Settings.
Select whether you wish to import email address and/or mobile numbers.
Tick the Send a text/ email to each new or changed number/address if you do wish to notify each new contact. We advise that the ‘Send a Text message to each new or changed number?’ option is left un-ticked for your first import as this will send a text to each new contact you import and will use a large amount of your text credits.
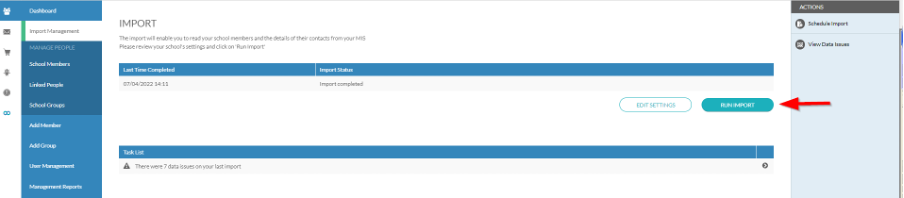
Once you are happy with your chosen settings to import members, groups and contact details into Schoolcomms from your MIS click Save. You will now need to run an import, by clicking Run Import.
This data needs to be refreshed regularly to ensure it is up to date, so we advise you run an import every morning when you log in to Schoolcomms.
Please note that if you have reduced the import strategy, for example, changed the import from P1 and P2 to just P1, then we will need to complete a database task to remove the data that no longer meets the strategy. In this particular example, we would need to delete all P2 contacts as their data will remain in your Schoolcomms account.
You can submit this type of request by sending an email to support@schoolcomms.com
If an individual contacts priority has been changed to a Priority you are no longer importing, you are able to delete them in Schoolcomms.
To delete the contact in Schoolcomms, please go to:
- Schoolcomms
- Run an import
- Click on the ‘Linked People’ icon
- Click on the contact you need to delete
- Click ‘Delete’
Once deleted, they will not be re-imported as they no longer have a Priority that you are importing.
How to run an import
To run your import, go to Dashboard>Import Management>Run import
Wonde imports data from Arbor on an hourly basis so users will need to wait an hour after making any amendments within your MIS before running an import to ensure the latest data is imported.
Pre-admissions
Currently, it isn’t possible to import Pre-admissions.
Any new starters will import across to Arbor once they are on roll.
Create Additional User Accounts
Premium Licence holders are able to have Unlimited Schoolcomms Logins. You can create new Schoolcomms users if you are the schools Multi-User Administrator from Management – Dashboard – User Accounts
Add a New Schoolcomms user
To add a user select Add New User Account and then fill in the details.
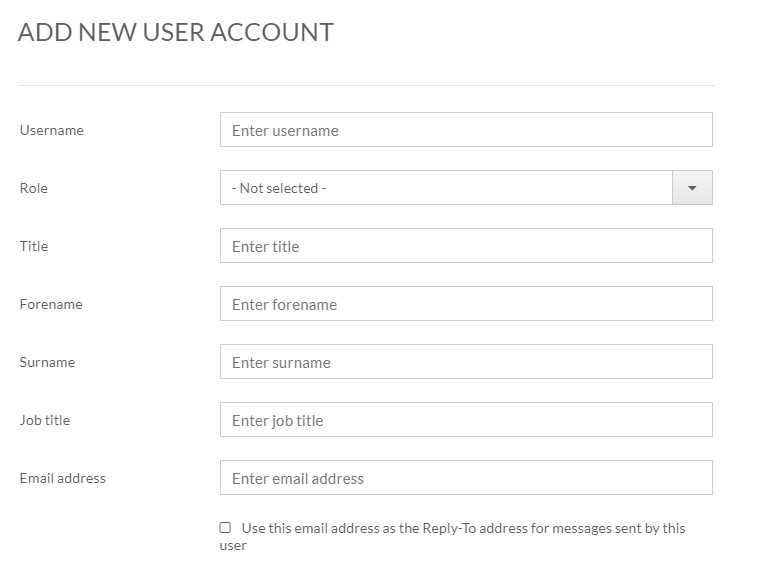
You will need to select a permission group, these groups decide what this user is able to see/do in Schoolcomms.
View the latest User Permissions guide here
Once you are happy with the details press save on the top right-hand corner.
Hint: In this window there is a check box that reads “Use this email address as the reply to address sent from the compose email screen by this user”. If you tick this, then any replies to any email this user sends out in Schoolcomms will be delivered to their own email address provided on this screen.
Memorable data will then appear for the user you have created, please write this down so you can pass this on to the user.
The users’ password will be emailed to them using the email you provided.
School Gateway Settings
Brand School Gateway
Brand School Gateway enables you to customise School Gateway with your own banner, logo and a colour selected from a limited colour palette, so that parents see images they instantly recognise then they log in to School Gateway for the first time. To access Brand School Gateway click the School Gateway tab within Schoolcomms, and select Brand School Gateway from the left-hand menu.
Below are the recommended specifications to help you when adding your school logo and banner:
Recommended measurements
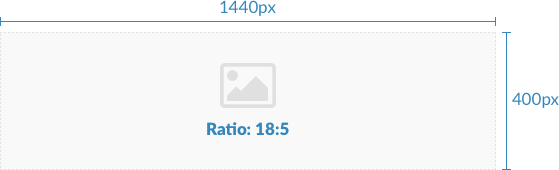
Required specifications
Size: maximum of 2MB
File type: png; jpg; jpeg
Behaviour
Correct ratio and size:


To make the most of the branding
To achieve the best possible result, save the image as a png file (for a sharper image); set the colour mode to RGB (for brighter and clearer colours) and use a resolution between 72dpi and 150dpi (to maintain a high quality image without compromising load time).
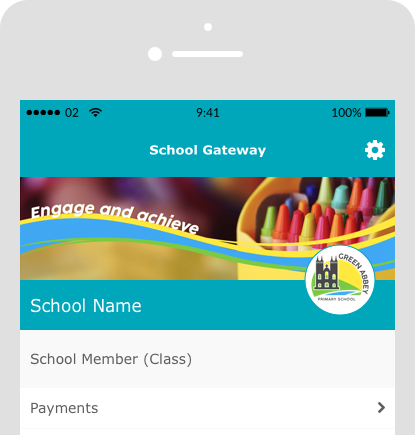
How it is going to look
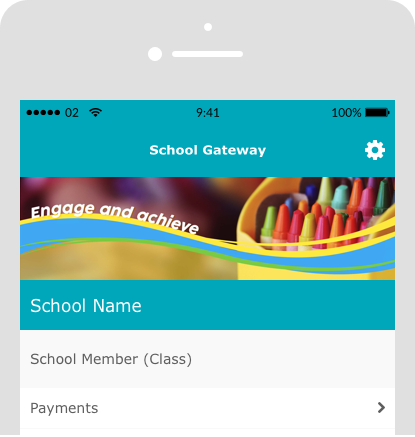
School Gateway app preview
Recommended measurements
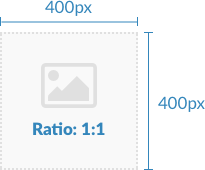
Required specifications
Size: maximum of 2MB
File type: png; jpg; jpeg
Behaviour
Correct ratio and size:


Correct ratio and incorrect size:

Incorrect ratio:


To make the most of the branding
To achieve the best possible result, save the image as a transparent png file (for a sharper image); set the colour mode to RGB (for brighter and clearer colours) and use a resolution between 72dpi and 150dpi (to maintain a high quality image without compromising load time).
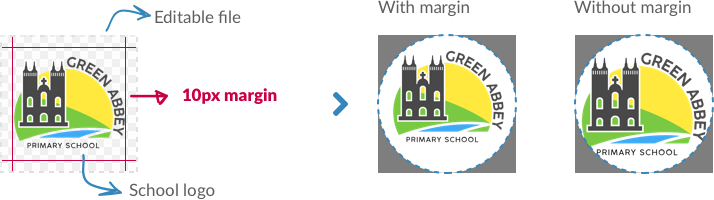
The uploaded image will be centred and the edges cropped to fit inside the circle. To prevent any part of the image being lost add a 10 pixel margin.
How it is going to look
School Gateway app preview
School Gateway Links
School Gateway Links allows you to link to other internet pages, such a homework products, school calendars and school social media pages via School Gateway. This allows you to make School Gateway your central hub for parents to access all products used within school.
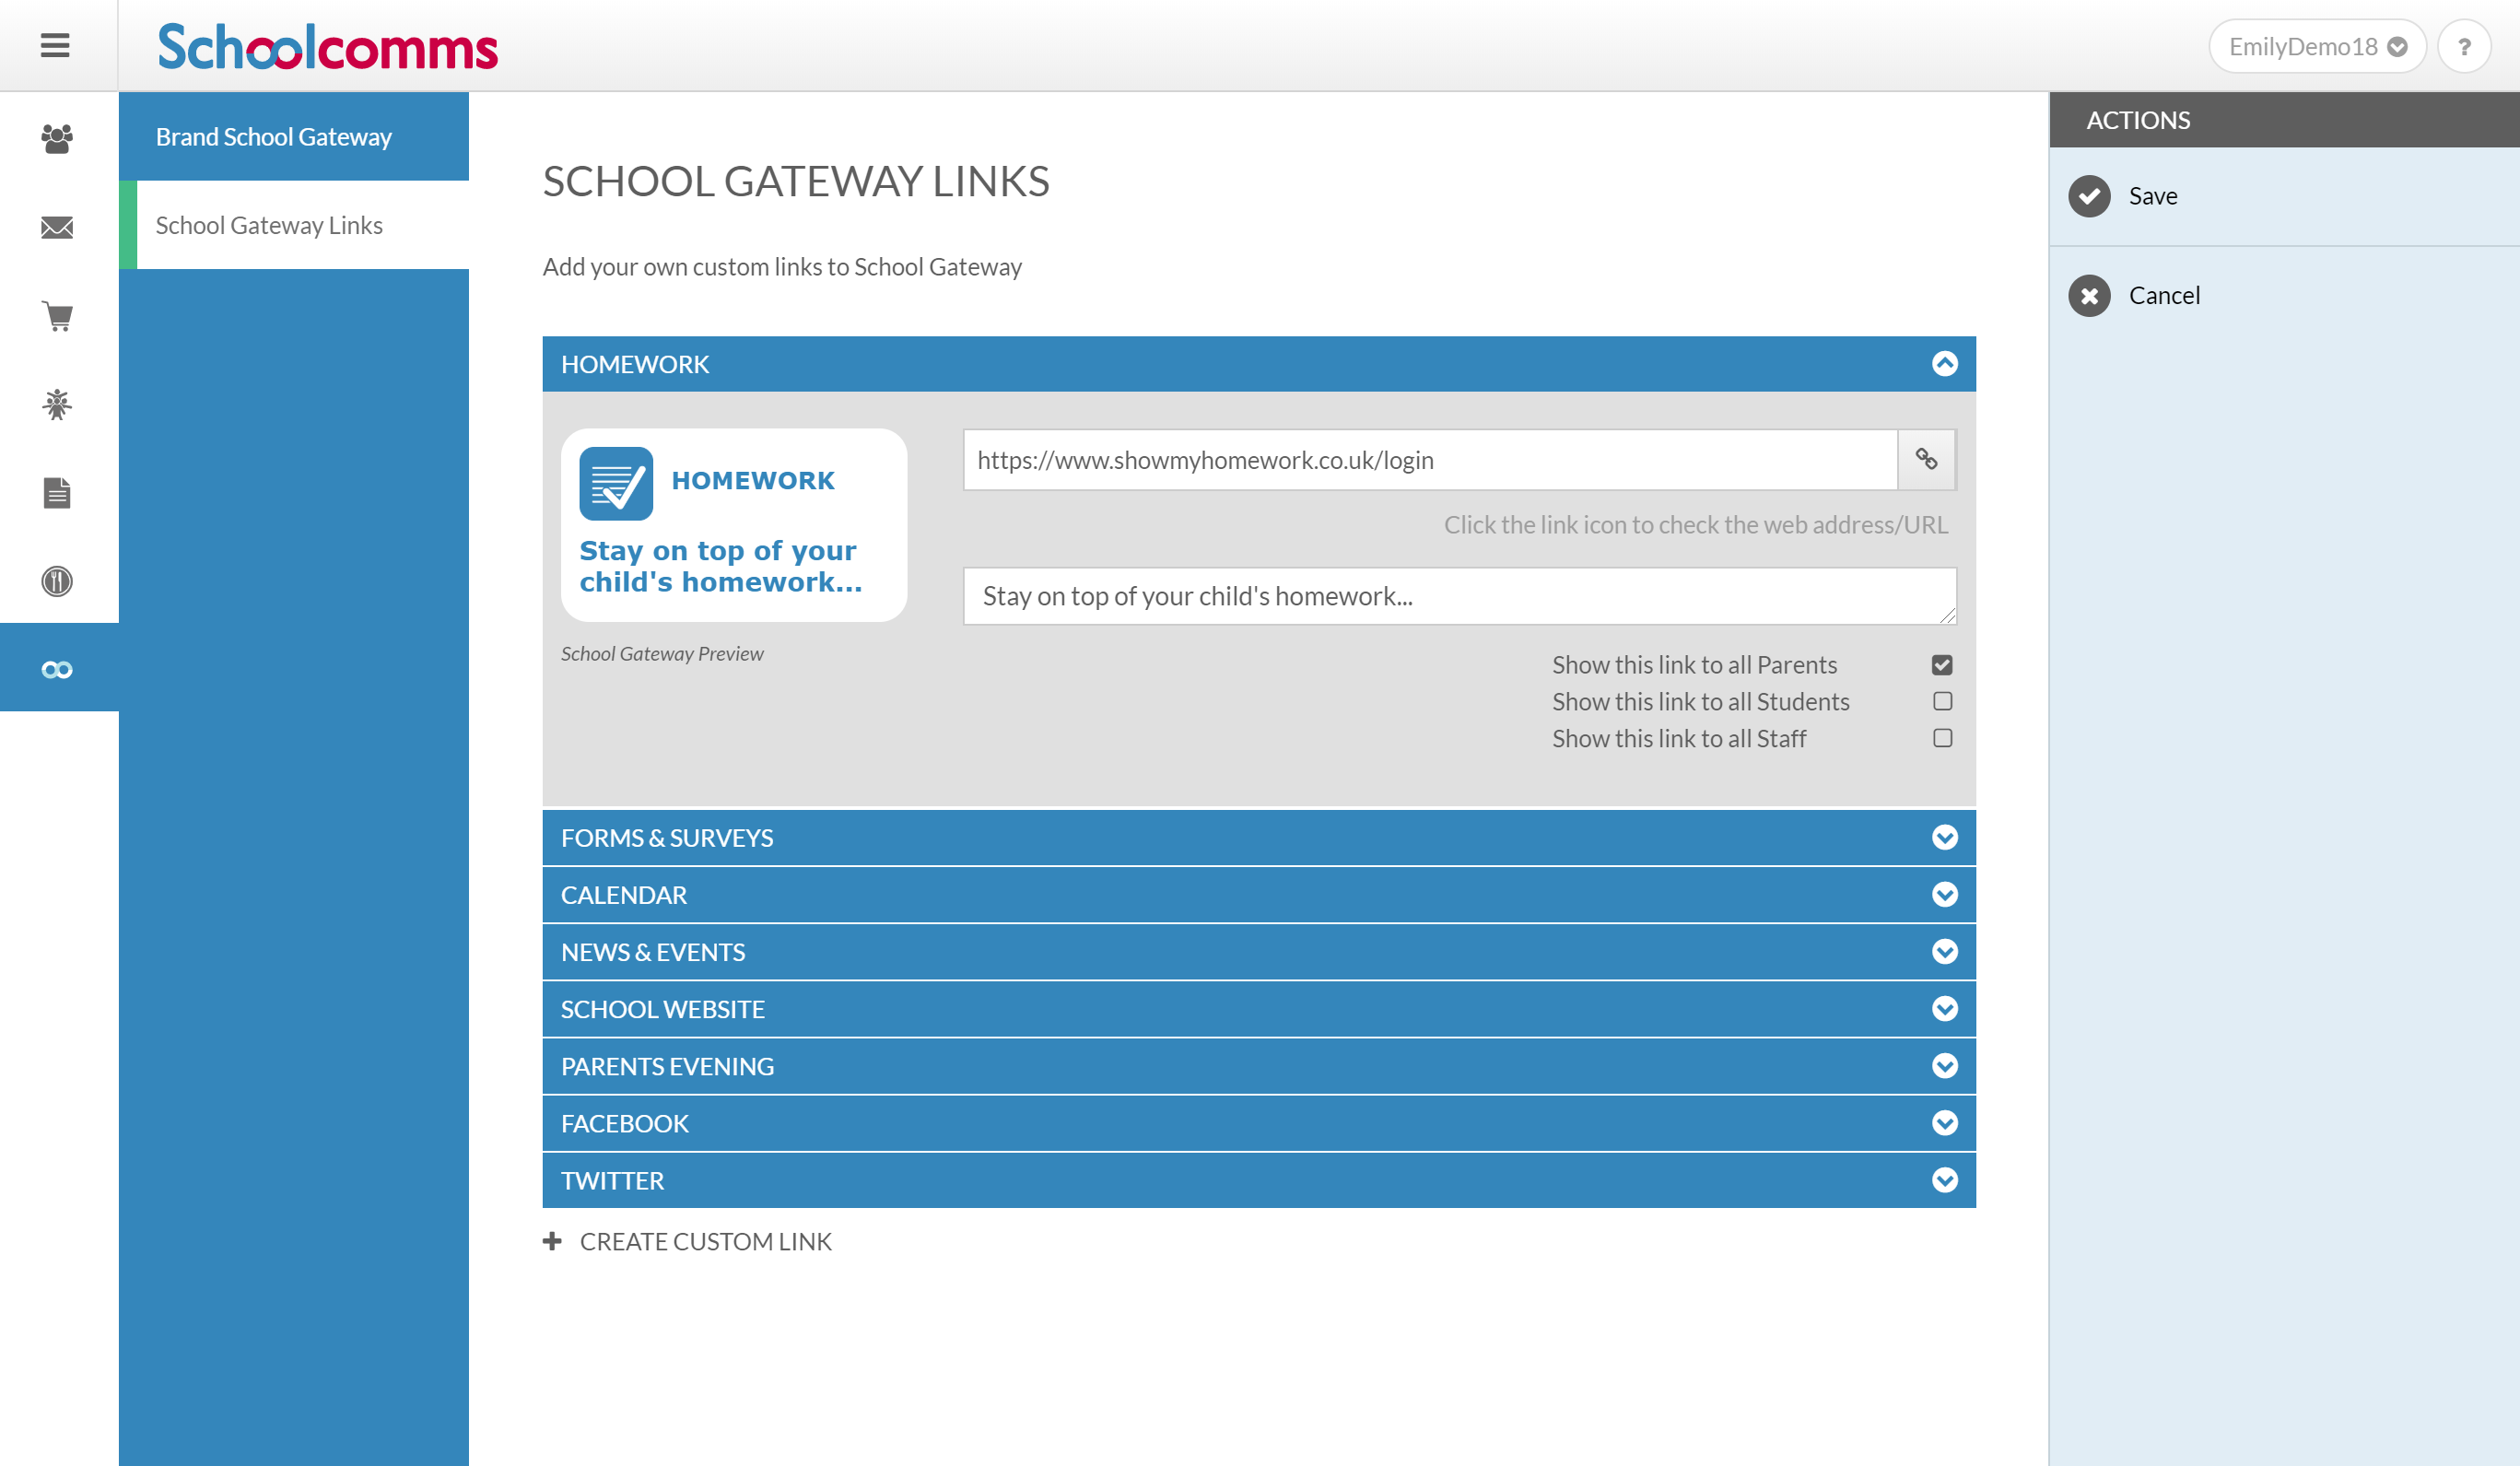
To access School Gateway Links please follow the steps below;
- Within Schoolcomms click the Dashboard tab.
- Once the Dashboard internet window opens click the School Gateway logo on the left hand side of your screen.
- Here you will see several options you can customise with links to external internet pages.
- Click on the section you would like to add a link for, and paste the required web address in to the Link box. You can then test this link by using the Link Icon next to this box
- Type a description in to the Description box, if needed, and decide if you would like this link to be available to Students, Parents or Staff
- If the page you would like to link to is not listed as an option, click Create Custom Link and add another.
School Members and Groups
Adding a new school member that is not in your MIS
Sometimes you may need to contact people who don’t appear within your MIS database. To add them to Schoolcomms, follow the instructions below.
Click Management > Manage school members > Add member
Enter the details for your new school member and click Save.
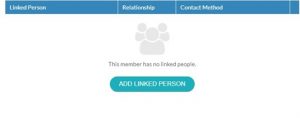
This member will be added to your list of members, but they will not have any contact details against them.
Click on Add Linked Person to add the contact details for this new member.
Add the relationship to the school member e.g., Prime Parent/Non-Prime Parent and choose if the parent has Parental Responsibility. Please note without Parental Responsibility they will be unable to give consent or book clubs.
Add the email address and mobile number and choose if you want to send a confirmation email or text to let them know. Click Save.
Editing an Existing Member
You can edit any members created in Schoolcomms by selecting the member then clicking Edit.
Deleting a Member
You can delete any member created in Schoolcomms by selecting the member then clicking Delete.
Note: The member will be permanently deleted and removed from the member list.
Adding a New Group into Schoolcomms
When you have added additional members to Schoolcomms, you may want to add them in to a group, so they are easily contactable. To do this, follow the instructions below.
Click Management > Add group
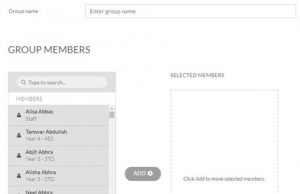
Enter a group name and the members to your group. Click Save
Your group will appear in your School groups list.
Edit/Delete an Existing Group
Any group that has been created in Schoolcomms can be edited or deleted under school groups.
Select the group you wish to edit/delete and click Edit to change the group or Delete to remove the group permanently from Schoolcomms.